📱 Find local & regional eSIMs
Search over 45000 eSIM data plans in 210+ countries
How To Order an eSIM

Compare eSIMs
Compare and find the most suitable travel eSIM for your needs and purchase it directly with the provider.

Receive eSIM via email/app
You will receive the eSIM profile within a few minutes in a separate e-mail or you can directly access it in the provider’s app.

Install eSIM
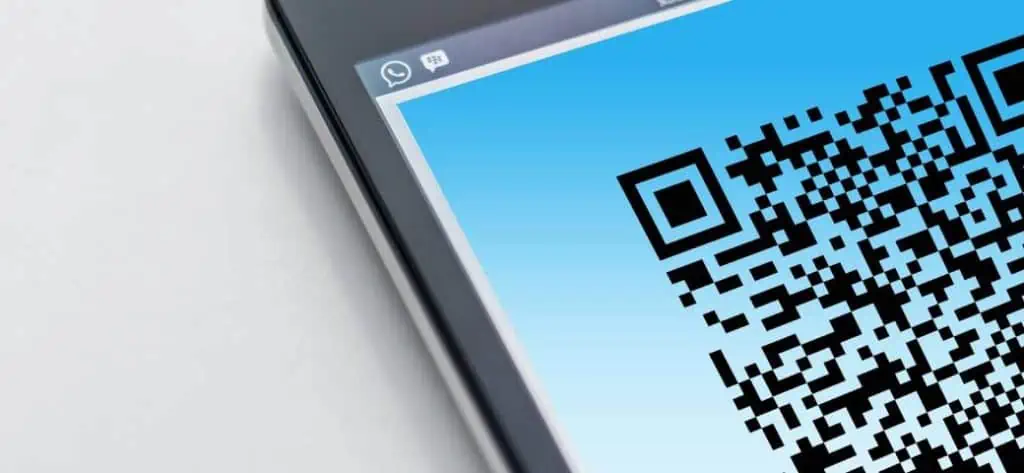
Scan the eSIM QR code in the mail with the camera function of your smartphone and follow the instructions on the screen. The profile will be set up automatically.
Free roaming abroad
You can now use the eSIM abroad!
Why Choose an eSIM?

Sustainable
The eSIM works digitally only, so fewer resources are used than with the classic SIM card.
Digital
The new eSIM can easily be digitally uploaded to your smartphone. It’s quick and saves the environment.

Fast Installation
Your eSIM profile is sent easily and conveniently by email. This means you will receive your digital eSIM much faster than a physical SIM Card by post.
Why eSIMs Are Perfect For You

Digital is The Way To Go!
With a traditional SIM card, you need to swap out the physical card in your phone to change carriers or use a local number. But with a travel eSIM, you can just download the eSIM profile onto your phone and say goodbye to physical SIM cards.
This is great choice for travelers who don’t want to carry around multiple SIM cards or who have phones without a removable SIM card tray. Plus, if you’re prone to losing small items, you won’t need to worry about losing a physical SIM card while on the go.
Setting Up an eSIM is Super Easy
Activating a traditional SIM card can be a pain, especially if you’re in a foreign country and don’t speak the language or don’t know the local carrier’s procedures.
But with a travel eSIM, you can just download the eSIM profile onto your phone and activate it in minutes. No need to search for a local carrier store or deal with any potential difficulties.
And most travel eSIMs come with easy-to-follow instructions and support from the provider, so the activation and setup process is a breeze.
More Affordable Data Rates
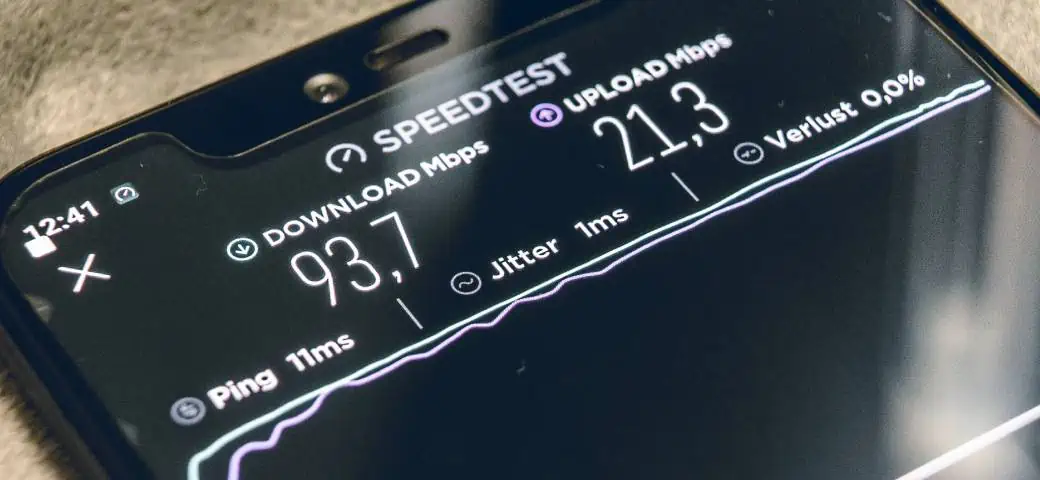
Prepaid eSIMs often offer cheaper data rates compared to traditional SIM cards, especially for international travelers. Many eSIM providers offer flexible and customizable data plans, so you can choose exactly how much data you need based on your travel needs.
This is especially useful if you’re only in a particular country for a short period of time and don’t need a huge data plan. And with a travel eSIM, you can save money on data charges by only paying for what you need.
Multiple Phone Numbers
This is super useful for travelers who want to keep their personal and professional numbers separate, or who want to have a local number in each country they visit.
This is great for making local calls, as you can use a local number and avoid any potential long distance charges.
It’s also helpful for those who want to have a separate number for business and personal use, as you can easily switch between the two numbers on the same device.


Switching Carriers is Super Fast & Easy
With a traditional SIM card, you need to go through the hassle of swapping out the physical card to switch carriers. But with an eSIM, you can just download a new eSIM profile onto your phone and switch carriers in a snap.
It is perfect for travelers who want to take advantage of local carrier deals or who need to switch carriers due to coverage issues. You can easily switch carriers and take advantage of the best available options, without the need to physically swap out SIM cards.
Frequently Asked Questions
Most eSIMs are activated as soon as they are installed on the smartphone. Some eSIMs are activated as soon as you have made the purchase. Please check the activation process carefully with the individual e SIM providers.
Yes! Few eSIMs include phone numbers and credit for making calls & sending SMS. Our eSIM comparison tables include the information. You can filter the table by selecting “Yes” under the Phone Number filter.
We have a list of e sim compatible smartphones available here.
Most eSIM providers send the eSIMs right after you have successfully made your purchase via email or in your account in the provider’s app.
eSIMs support 4G LTE or even 5G in selected countries. Though in remote areas, you might experience a drop in internet speed. It might not be the eSIM’s fault, rather that the network has not been expanded to that area yet.
Yes, an eSIM only works if you turn on roaming on your smartphone. Make sure to select the eSIM as your Primary Card, so that Data, Phone Calls & SMS (if applicable) work.
You might consider it lost. Only a few providers have eSIMs that can be installed multiple times. Contact the customer support to see if they can send you a replacement eSIM.
It depends! Certain eSIMs can only be installed a single time and the QR Code is non-functional afterwards. Other eSIMs can be installed multiple times and switched over to other smartphones.
Some eSIMs do allow top-ups! If the eSIM cannot be extended or a topup is not possible, you can simply purchase a new eSIM.
You can use the camera of your smartphone to scan the QR Code. You will see a popup that prompts you to install the virtual SIM Card. Alternatively, you can install them manually by entering the SMDP+ address and the activation code in the settings menu.
- You must have a smartphone that is compatible with eSIMs.
- You must be connected to a stable Wi-Fi network
Please check with the provider. Each provider has their own USSD / GSM Codes available that provide you with the option to see the remaining data balance. You can get a data consumption estimation by looking at the Data Consumption inside your smartphone’s settings.
Yes, but only if your smartphone supports the Dual-SIM functionality and is compatible with eSIMs. Make sure that you have setup Primary SIM Card & Secondary SIM Card correctly, do avoid any unwanted charges or fees.

