All of the products and services we feature are chosen independently. If you click through links we provide, we may earn a commission. Learn more
Written by: Emily Chen
Transfer eSIM from iPhone to Another
- Updated: September 30, 2023 | Published:
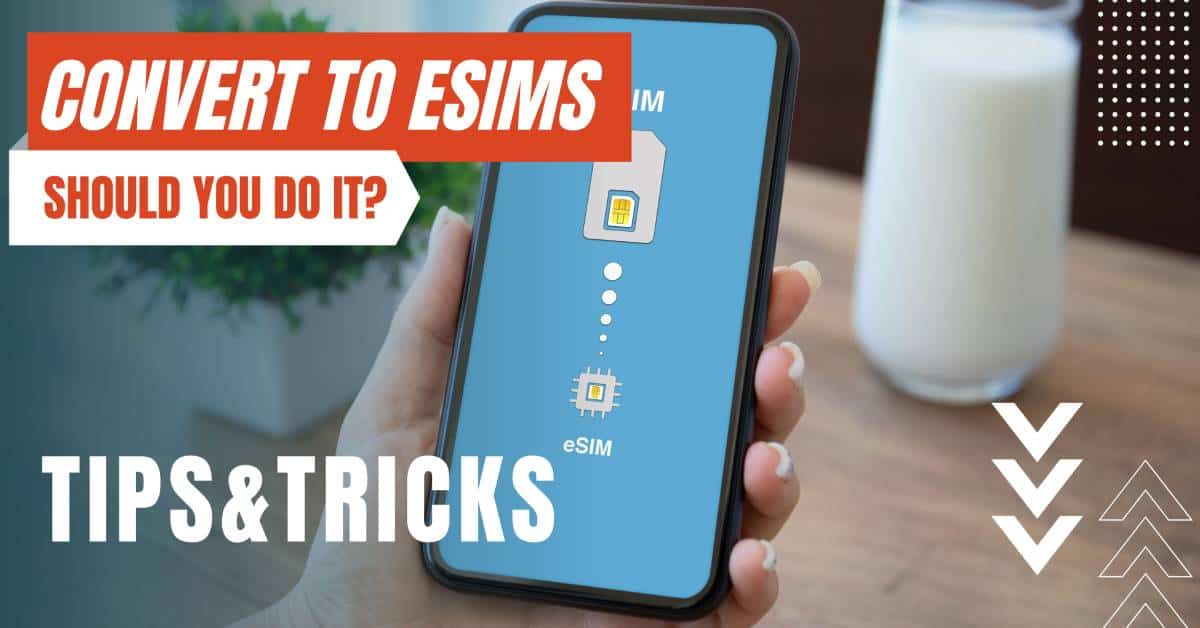
If you’re looking to transfer your eSIM from one iPhone to another, you’re in luck! It’s actually a pretty simple process that only takes a few minutes to complete. However, there are a few cautions and troubleshooting tips that you should keep in mind to ensure that the transfer goes smoothly.
Transfer eSIMs between iPhones
First and foremost, make sure that both of your iPhones are running the latest version of iOS. You can check this by going to Settings > General > Software Update. If there’s an update available, be sure to download and install it before moving on to the next step. This will help ensure that your eSIM is properly recognized by your new iPhone.
Once you’ve updated your iPhones, the next step is to transfer the eSIM itself. On your old iPhone, go to Settings > Cellular > Cellular Plans. You should see a list of your available eSIMs here. Tap on the eSIM that you want to transfer to your new iPhone, then tap on the “i” button next to it.
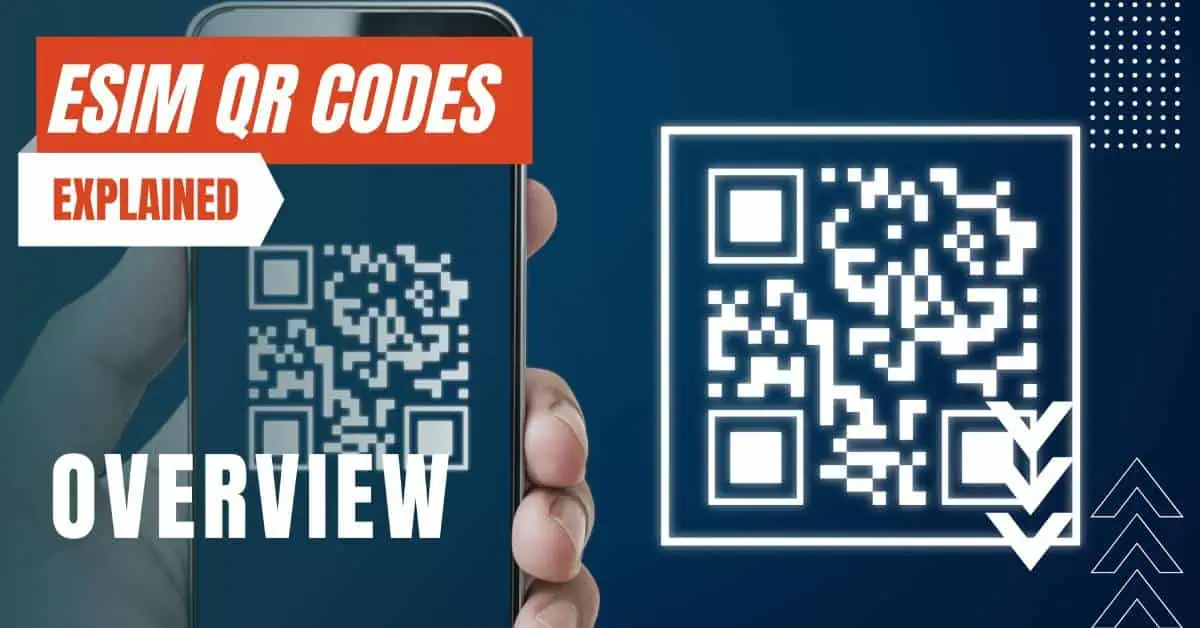
On the next screen, you’ll see a QR code. This is the code that you’ll use to transfer your eSIM to your new iPhone. On your new iPhone, go to Settings > Cellular > Add Cellular Plan, then scan the QR code using your new iPhone’s camera. This will automatically transfer the eSIM to your new iPhone.
Once the eSIM is transferred, you’ll be able to activate it on your new iPhone by going to Settings > Cellular > Cellular Plans and selecting the eSIM that you just transferred.
Keep in mind that you may need to deactivate your old eSIM on your old iPhone in order for the new one to work properly. If you’re unsure of how to do this, contact your carrier for assistance.
Troubleshooting eSIM Transfer
Now, onto some troubleshooting tips! If you’re having trouble transferring your eSIM, there are a few things that you can try. First, try restarting both of your iPhones. This can sometimes help resolve any issues with the transfer process.
If that doesn’t work, try deleting the old eSIM from your old iPhone and starting the transfer process over again. To do this, go to Settings > Cellular > Cellular Plans on your old iPhone, tap on the eSIM that you want to transfer, and select “Delete Plan”. Then, follow the steps above to transfer the eSIM to your new iPhone again.
Finally, if you’re still having trouble, it’s best to contact your eSIM carrier for assistance. They can help you troubleshoot any issues with the transfer process and get your new eSIM up and running on your new iPhone.
Final thought
In conclusion, transferring your eSIM from one iPhone to another is a fairly straightforward process, but it’s important to be aware of potential cautions and troubleshooting tips to avoid any disruptions to your cellular service. With a little bit of care and attention, you’ll be able to smoothly transfer your eSIM and start using it on your new iPhone in no time!
By entering your email & signing up, you agree to receive promotional emails on eSIMs and insider tips. You can unsubscribe or withdraw your consent at any time.

About The Author
Spread the Word, Share the Joy
Compare eSIMs
Why keep the secret to yourself? Spread the joy of eSIMradar and let everyone in on the eSIM experience!

Easy eSIM Comparison for Your Needs
Simplifying your search! Easily compare eSIM plans tailored to your specific needs

Coverage in 210+ Countries
Benefit from our extensive eSIM comparison with 30+ providers in over 210 destinations.

Save money without second-guessing
Our platform helps you maximize value, ensuring competitive prices.

Enjoy Hassle-Free Travel Abroad
Whether you’re on holiday or a business trip abroad, stay connected with ease and focus on enjoying your experiences,
Find Your Perfect eSIM & Exclusive Deals!
Find your ideal eSIM effortlessly and stay connected in style wherever your adventures take you! Get exclusive deals and discounts at your fingertips, ensuring you get connected for less on your travels!
